Dental Sealants in Islamabad
The Essential Barrier for Decay Prevention


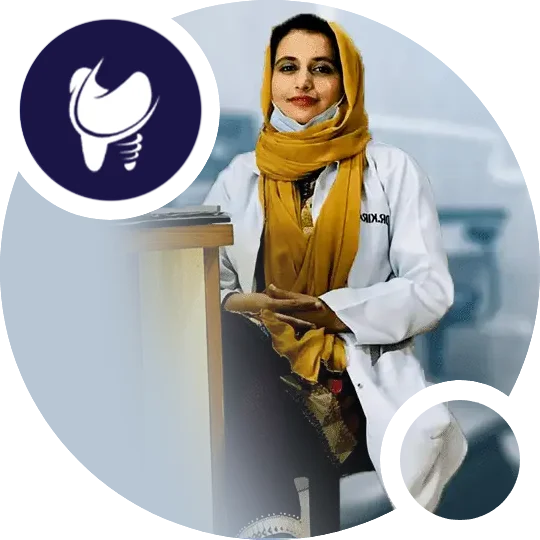
Dental Sealants explained by Dr Kiran Haseeb, BDS.

EXCELLENTTrustindex verifies that the original source of the review is Google. Very professional and skilled, top to bottom. Cannot recommend them more highly. Dr. Kiran Haseeb is so thorough and informative, and lets you know every step of the way what’s going on so there are no surprises. Very calming, as well. Thanks toPosted onTrustindex verifies that the original source of the review is Google. Highly Recomendable For Crown,implant , tooth bridge and scaling Economical Prices Excellent and Cooprative Staff , Dr kiran as well GoodPosted onTrustindex verifies that the original source of the review is Google. I recently had a dental implant procedure done with Dr. Kiran Haseeb and I couldn’t be more pleased with the entire experience. From the initial consultation to the final placement, everything was clearly explained and professionally handled. The staff was friendly and made me feel comfortable throughout the process. Dr. Kiran Haseeb took the time to answer all my questions and made sure I was informed every step of the way. The procedure itself was smooth and relatively painless, and the healing process went exactly as expected. Now that the implant is complete, it feels just like a natural tooth! I highly recommend Dr Kiran Haseeb (Tooth crew clinic) to anyone considering dental implants #Strumannimplant #Bestsurgeonislabad #bestImplantologistPosted onTrustindex verifies that the original source of the review is Google. I visited dr Kiran last summer when I was in Pakistan .I didn’t write a comment because I don’t want to give misinformation to people .it’s been almost a year and I’m super happy and satisfied with her treatment.Honestly speaking I was scared to see a doc but must say that her office was super clean and service was great.

Dr. Kiran Haseeb Clinic in Islamabad features a modern facility equipped with the latest dental technology, ensuring all treatments meet international standards.
©2025, Dr Kiran Haseeb All Rights Reserved.
WhatsApp us